Description
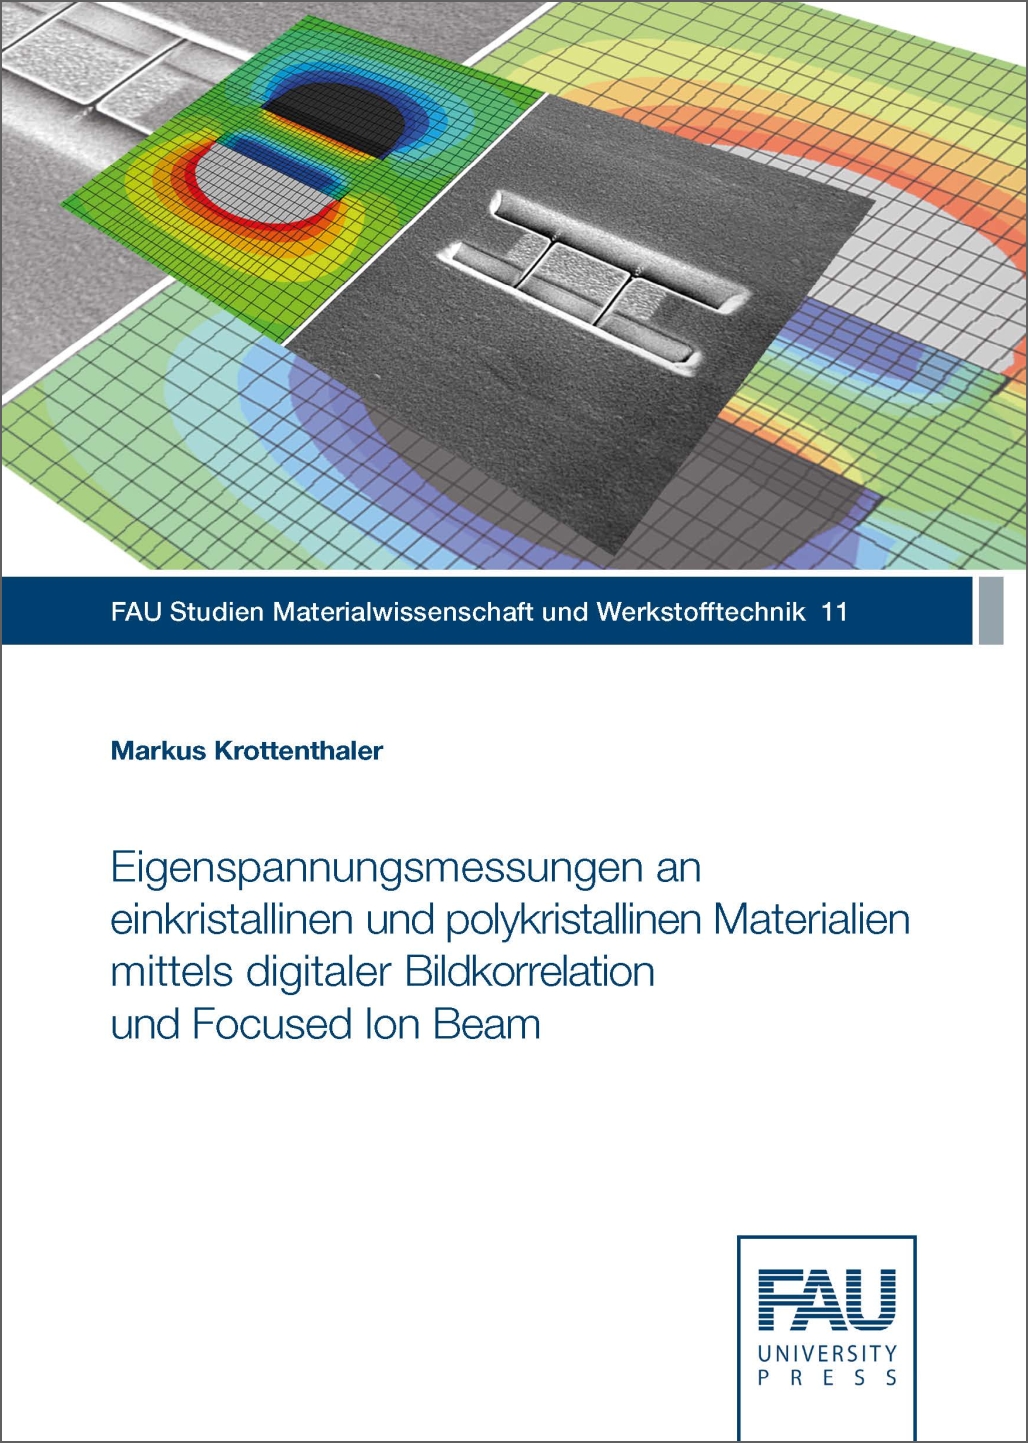
In the scope of this work a milling geometry for the FIB-DIC based residual stress measurement was evaluated. By removing material at specific locations by means of a Focused Ion Beam (FIB) stress relief is achieved similar to the wide-spread macroscopic drill hole method. The resulting strains are measured using digital image correlation (DIC) and the relaxed stresses can be calculated.
With this method, it is possible to measure residual stresses not only of crystalline materials but also of amorphous ones unlike in residual stress measurement by X-ray diffraction. Due to the small length scale in comparison the macroscopic drill hole method stresses of a few micrometer thick films can be measured well.
In the scope of this work, a new milling geometry for FIB-DIC based residual stress measurement was developed. With the H-bar or two-slot milling is it possible to calculate the residual stresses for elastic isotropic as well as for anisotropic materials by means of Hooke's law. Extending the two-slot milling to four-slot milling with two additional milling steps it is possible to determine the full plane stress state with a single milled structure especially for materials with a very high elastic anisotropy.
The two milling geometries were applied to a thermally cycled NiAl based bond coat system. With the H-bar milling, the stresses in the thermally grown oxide were examined. By means of four-slot milling is was possible not only to measure the residual stresses of individual grains of the bond coat but also determine the directions of the principal stresses. In both components of the coating system the thermoelastic interactions with the superalloy substrate were identified as the source of the residual stresses. The reliability of the new stress measurement method was determined by measurements on a bending beam with a known stress state. Possible influences caused by the H-bar geometry were analysed by FE-simulations.


Reviews
There are no reviews yet.